How to Design a 3D Logo Mockup in Photoshop CC (Free PSD Download)
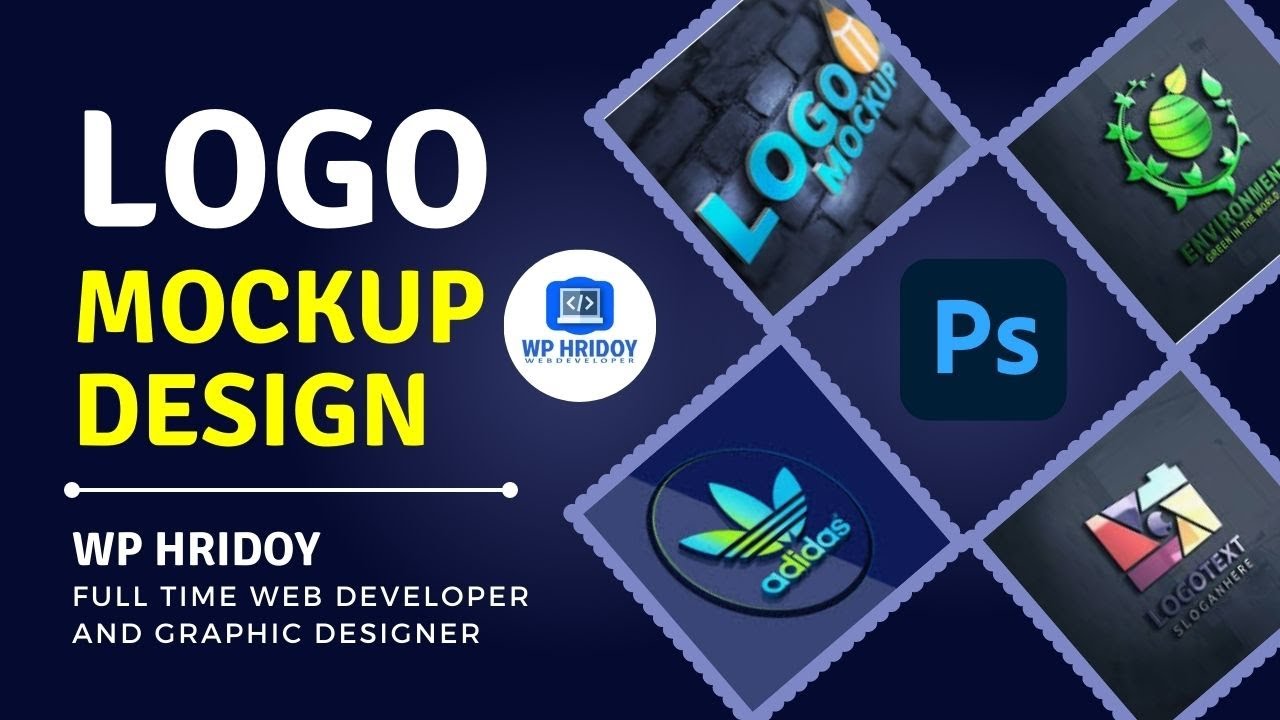
A beginner-friendly guide to creating a professional 3D logo mockup in Adobe Photoshop CC — Wp Hridoy Logo Mockup Free Download || 3D Logo Mockup Design tutorial Photoshop CC
On this page
A logo mockup is one of the fastest ways to make a brand look polished and professional. Instead of showing a flat logo on a white background, a 3D mockup places it on a realistic surface — a wall, a signboard, an embossed card — so clients instantly feel the brand. In this guide I'll show you exactly how to design a 3D logo mockup in Adobe Photoshop CC, including where to grab free PSD files and how to swap in your own logo without breaking the effect.
What Is a Logo Mockup?
A logo mockup is a pre-made Photoshop template (usually a .PSD file) that already contains the lighting, shadows, texture, and 3D perspective of a scene. Your only job is to place your logo inside a smart object — Photoshop then wraps it onto the surface with all the realism baked in.
That means you don't need to be a 3D artist. If you can open a file and paste an image, you can produce a studio-quality presentation.
Where to Download Free 3D Logo Mockups
The easiest way to find quality mockups is a simple Google search for "logo mockup design free download". You'll get hundreds of options for walls, glass, metal, paper, and neon signs.
A few reliable places to start:
- GraphicsFamily — a large library of free, high-quality mockup PSDs
- Freepik — free with attribution, huge variety of 3D scenes
- Behance & Dribbble — designers often share free mockups in their projects
Tip: Download a mockup with a smart object layer (most good ones have it). That single feature is what makes swapping your logo a 10-second job.
Step-by-Step: Editing Your Logo Mockup
Once you've downloaded a mockup you like, here's the full workflow:
- Download the PSD file from a resource site like GraphicsFamily.
- Open it in Photoshop — any recent version of Adobe Photoshop CC works fine.
- Find the smart object layer in the Layers panel (it usually has a name like "Your Logo Here" or "Place Your Design").
- Double-click the smart object thumbnail. A new tab opens showing a blank canvas.
- Paste or place your logo into that canvas, size it to fit, then Save (
Ctrl + S/Cmd + S). - Return to the main document — your logo is now wrapped onto the 3D surface with the original shadows and lighting.
- Export with
File → Export → Export As(choose PNG or JPG).
That's the whole process. The smart object does the heavy lifting.
Tips for a Professional Result
- Match the logo color to the scene. If the mockup has warm lighting, a pure-white logo can look flat — nudge it slightly toward the scene's tone.
- Keep transparency. Export your logo as a transparent PNG so only the mark blends onto the surface, not a white box.
- Respect the shadows. Don't delete the mockup's shadow/highlight layers — they're what sell the 3D illusion.
- Use high resolution. Start with a logo that's at least 1000px wide so it stays crisp when scaled.
You can Watch This Video:
Final Thoughts
A good 3D logo mockup instantly raises how professional your brand looks — and with free PSD templates plus Photoshop's smart objects, you can create one in minutes. Start with a clean mockup, drop your logo into the smart object, and export.
If you'd like a custom logo, brand kit, or a website to match, I build them end-to-end. I'm Wp Hridoy, a full-stack web developer and WordPress expert — feel free to reach out.
Need help with something like this?
Tell me what you're building. As a Top Rated Plus developer on Upwork with 6+ years of experience, I reply within 24 hours — no sales team, no follow-up sequence.
More on Photoshop
View all articles
How to Upload a File to Google Drive and Share a Link
A simple, step-by-step guide to uploading files and folders to Google Drive using every method — web, drag-and-drop, and desktop — then sharing a public or private link the right way.
Why I Rebuilt My Portfolio with Next.js
After years on WordPress, I moved my portfolio to Next.js. Here's why — and what I gained in performance, SEO, and developer experience.
Getting Started with WordPress Development
A practical guide for anyone looking to start building custom WordPress websites — from setting up your environment to your first theme.